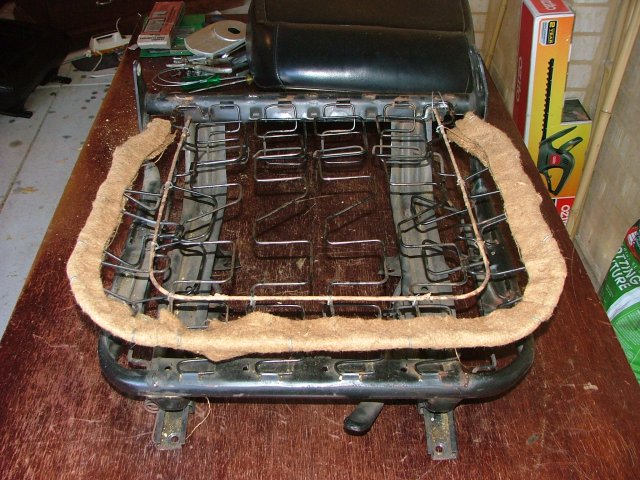
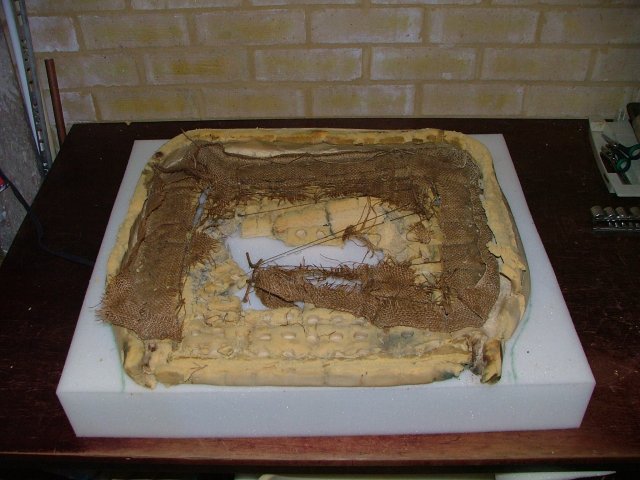
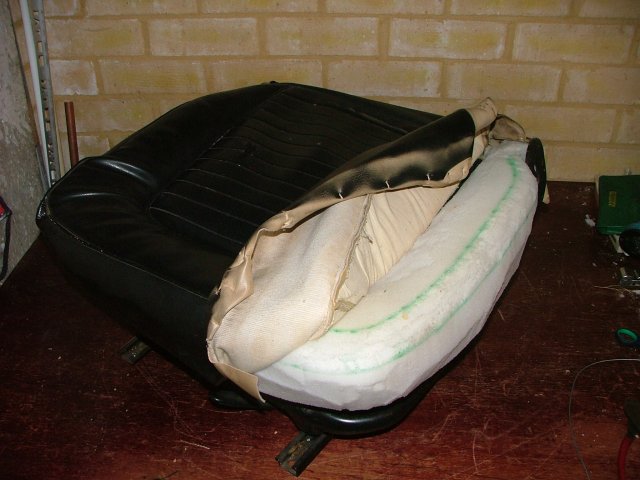
| You need to remove the seats from tha car, dismantle them and strip them down to the frame. To remove the vinyl you will need to carefully cut or pull off the wire ring fasteners that hold the vinyl to the frame around the bottom of the seat. You will also find that the same ring fasteners are used to hold the vinyl down in the recess around the top of the seat cushion. Take care not to rip or damage the vinyl while you are pulling it off and you should end up with something like this: |
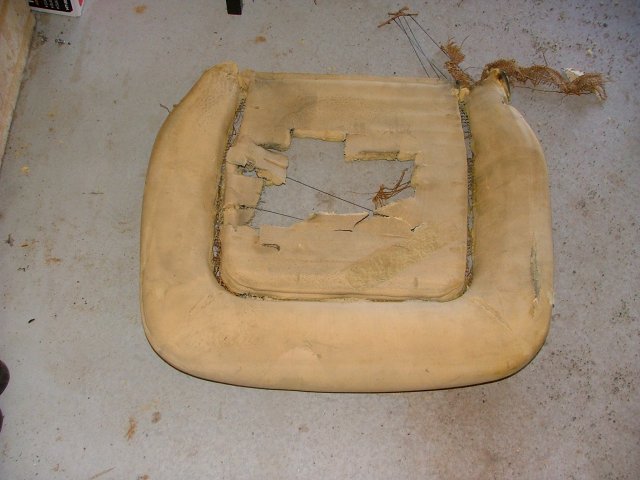
| Here is the source of my problem, the original foam is completely cactus and the hessian that was between it and the frame has disintegrated. |
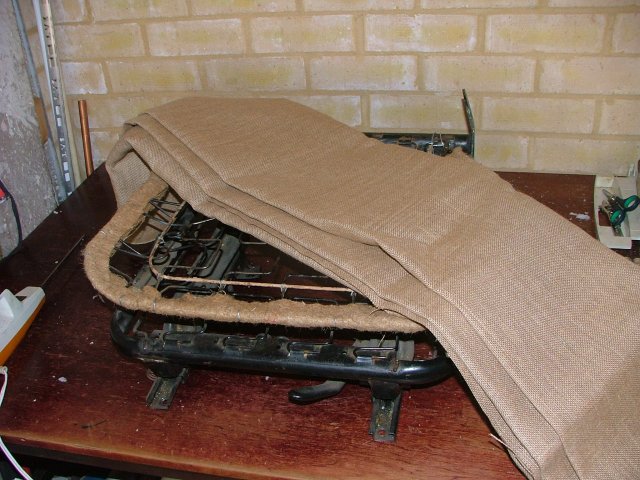
| The first step is to replace the hessian, you should be able to get this from your local fabric shop (Spotlight), for a couple of dollars per meter. Just make sure your mates don't see you going into the joint. |
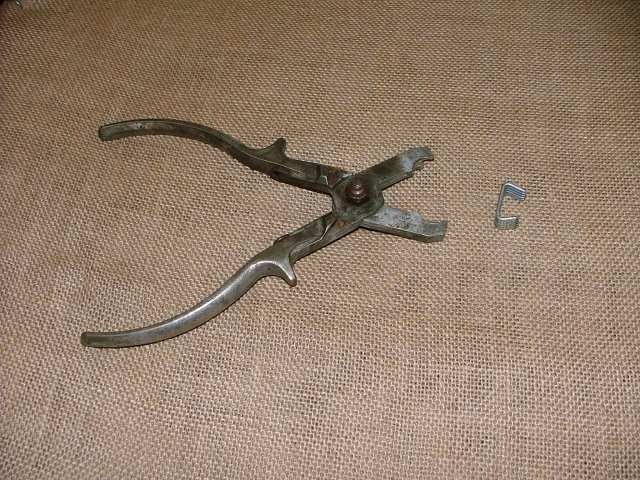
| It would also help to have one of these, a set of ring fastener pliers and some ring fasteners. I already had these from some previous fencing work and I'm assuming they are very similar to the ones used by upholsterers. |
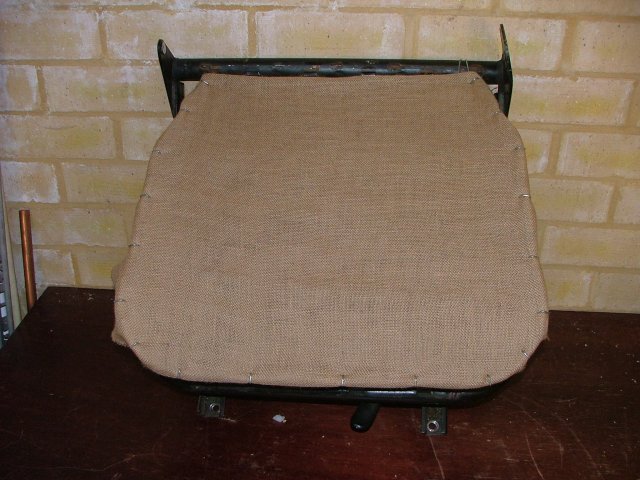
| Simply cut the hessian to the shape of the top of the frame allowing an inch or so extra to wrap over the edges and fix it on with the ring fasteners. I used two layers just to make sure. |
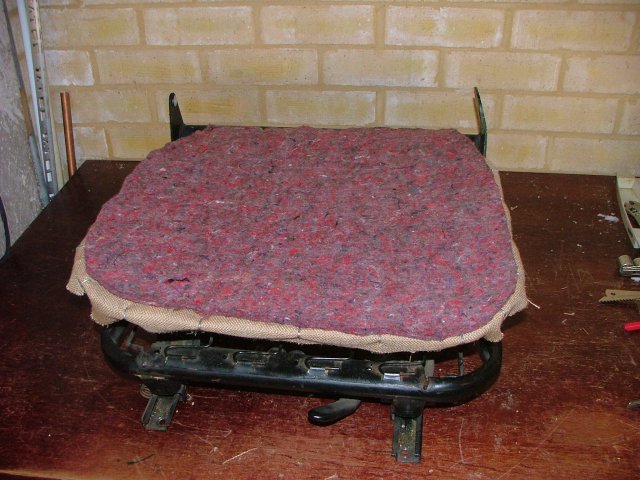
| This is an optional extra, I had a bit of spare carpet underlay and thought it would be a good idea to glue some of this over the top of the hessian for a bit of extra reinforcement. The glue is regular contact cement. |
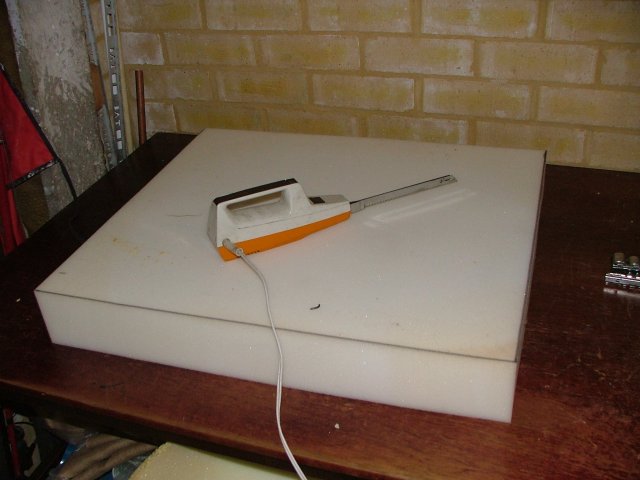
| The next step is to get some new foam from your local foam supply joint. I got a piece of high density foam, 60cm x 70cm x 10cm, for about $36 from the local Clark Rubber store. You will also need your wife's trusty electric knife to cut it into shape, just make sure she doesn't find out about it. |
| I used the old foam as a template to mark out the shape for the new foam. |
| Check that the shape is roughly symetrical and you're ready to start cutting: |
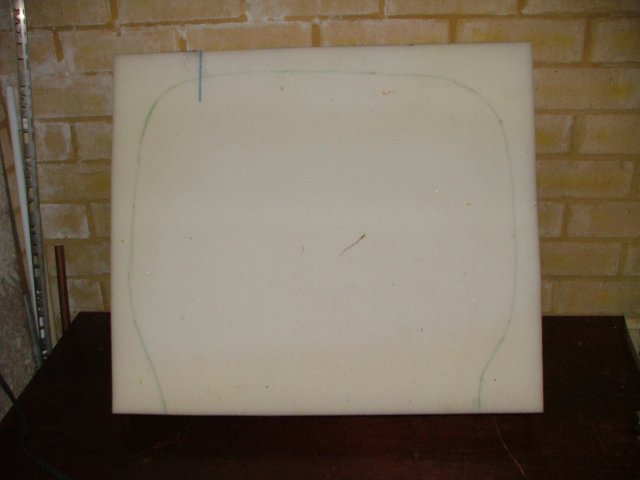
| Here is the foam cut to the basic shape, I also marked out the recess in the top of the cushion and gave myself some guidelines around the top edge for the curves on the corners, this will help to keep them uniform. |
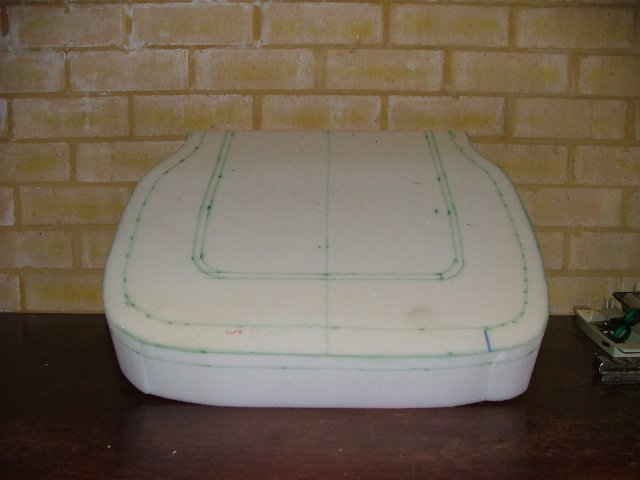
| The foam is starting to take shape now: |
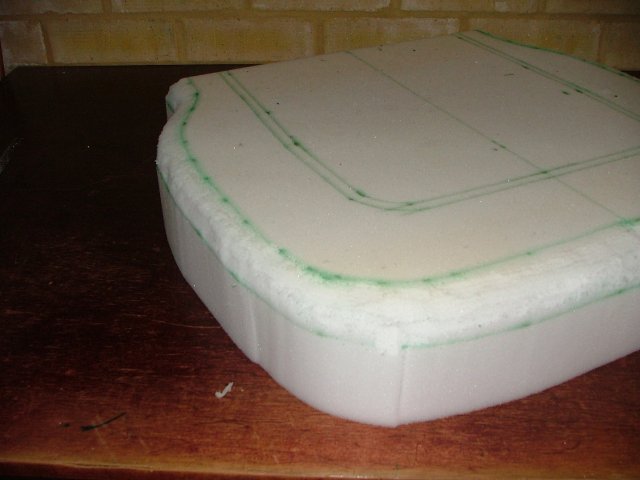
| After an hour or two of careful carving, you should end up with something that looks like this. To do the recess in the top, I just put a couple of vertical cuts in at the required depth with the tip of the knife and tore out the strip in between. |
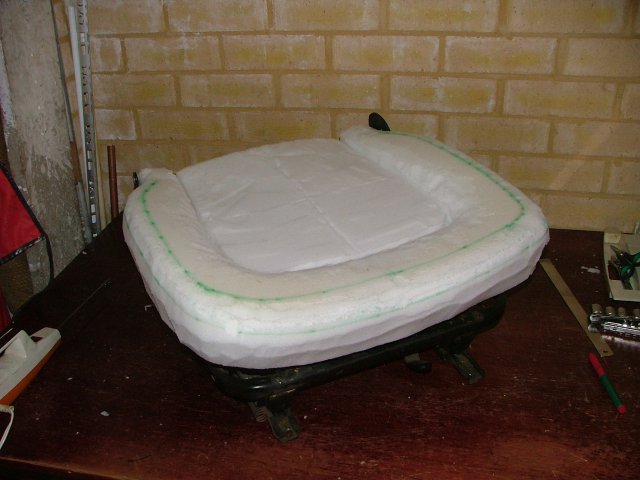
| If you need to smooth up the surface, you can glue a layer of thin foam over the top to tidy things up. Here is the finished product glued on and ready to start re-attaching the vinyl. |
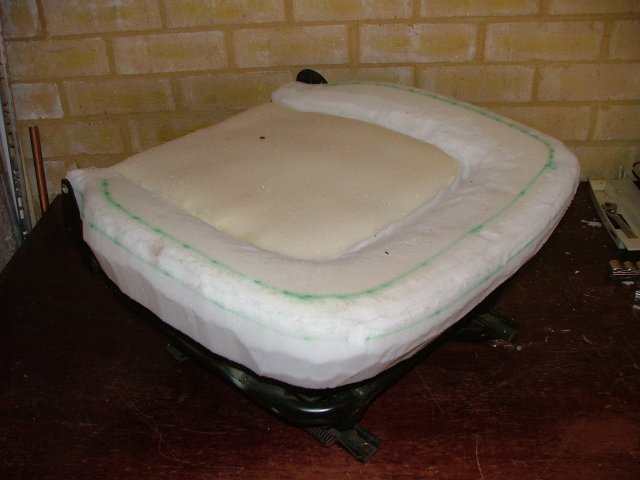
| Start with the recess in the top of the cushion. Rather than use the original ring fasteners, I found it easier to use some "U" shaped pieces of wire which I poked through from the top and tied off underneath. |
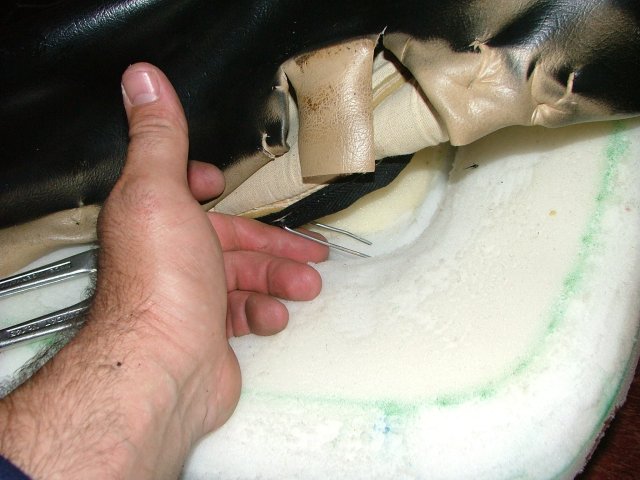
| Here is a picture from underneath, trim off any excess whire when you are finished. |
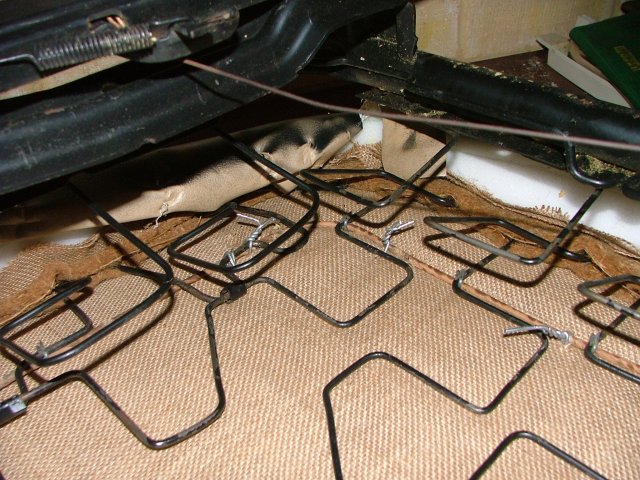
| Carefully work the vinyl down over the sides. |
| Start attaching the vinly around the bottom of the frame with the ring fasteners. Take care to ensure that the tension is kept relatively uniform. |
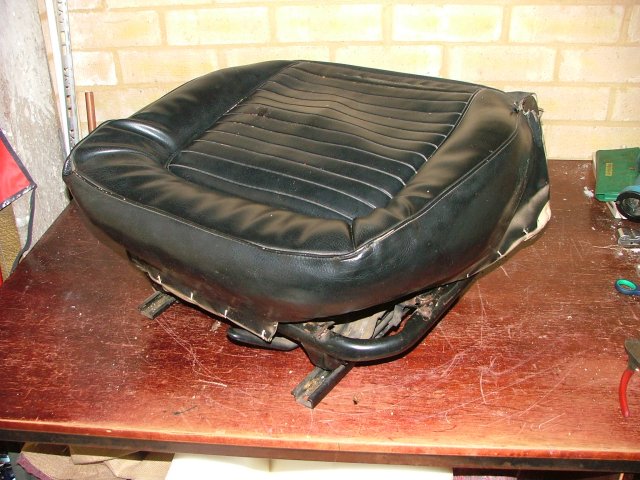
| Here is a shot from underneath: |
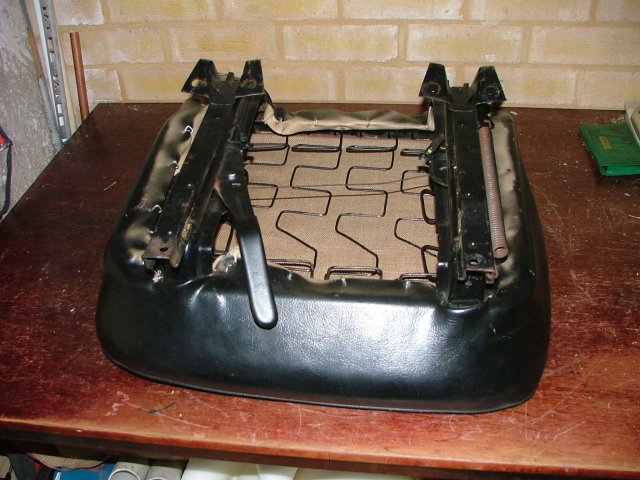
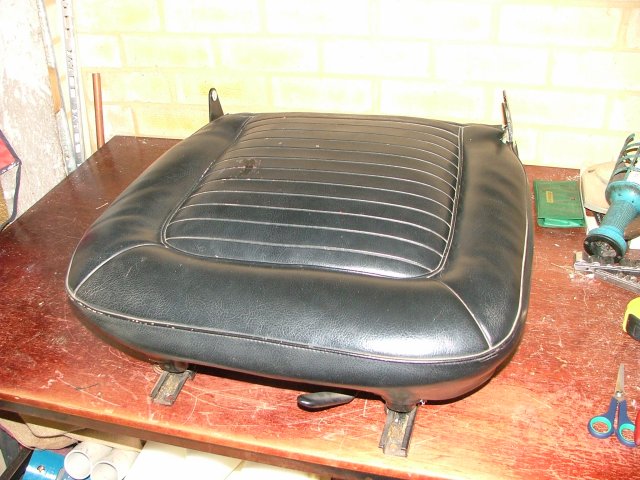
| When you're finished, it should hopefully look something like this. Mine is probably a bit over full in the cushion area compared to how it cam from the factory. |
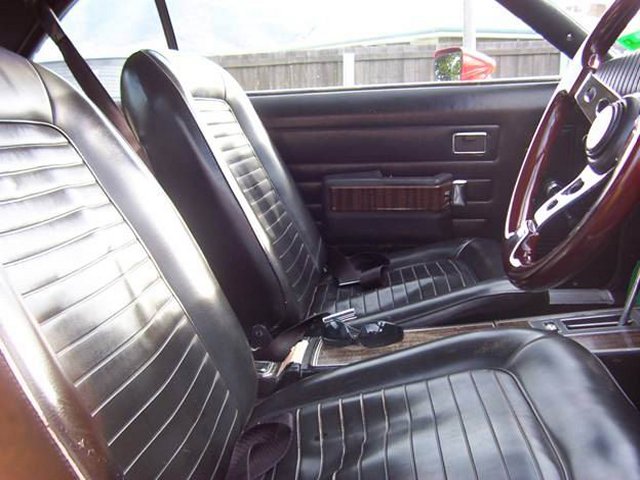
| Here is the finished product back in the car. You might have noticed in the other photos that my seats were not originally black, so a quick coat of vinyl spray later and they look much better.It helps to hide a couple of other blemishes where the vinyl has been previously repaired too. Note that I ran out of vinyl paint so the seat backrest has not been done yet. |

|
I did the whole job over several nights after work so give yourself a bit of time to get it done. The second one
will be a lot quicker than the first and will probably come up a little bit better, so I suggest you do the passenger
seat first. For reference, I'm not a proffestional upholsterer and this was the first time that I have done anything like this. |